Happy November!
Today I'm joining a group of talented bloggers sharing some Christmas tablescapes (more inspiration at the bottom of this post). A little early, yes, but I'm sure we'll all get tons of ideas for the upcoming holiday and it's so nice to have some time to prepare!
In all honesty, I almost thought I would have to cancel in my participation for this post for one main reason - time. No time to come up with any new ideas, no time to run to the store, no time to put together anything amazing, you get the idea! Then I realized that there are so many of us in this exact same place - we are all often short on time these days! As I foraged around the yard for a few things to use to decorate, and pulled out my red transferware dishes and my red striped linens, I began to feel anticipation for the upcoming holidays and the time we can slow down and spend gathered together around the table. I think what I'm trying to say is, it's okay to use our tried-and-true table settings using what we already have on hand. There's so much joy in using our favorite holiday dishes and linens and there are memories tied to those simple things, not just for us, but for those gathering around our tables!

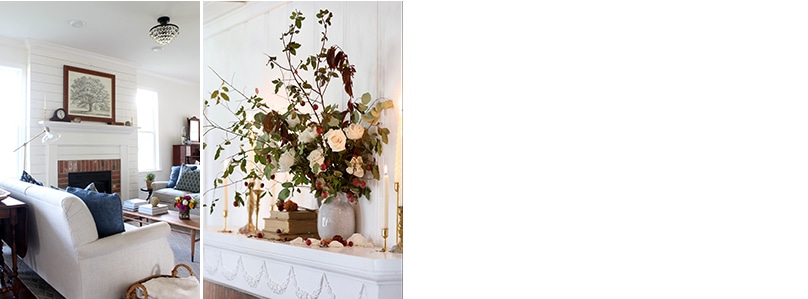
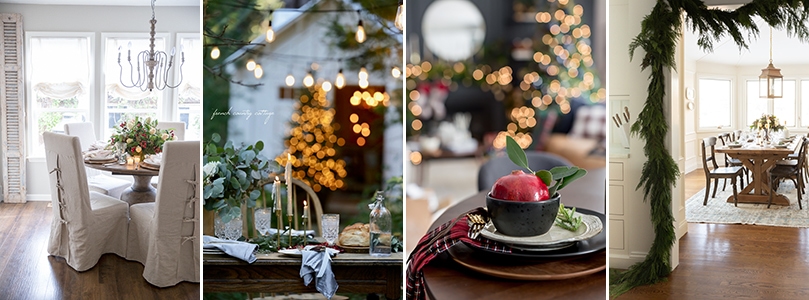
Every year I seem to gravitate towards a very simple, natural table. I love using some greenery (cypress and boxwood is my favorite), acorns, and pinecones, especially for Christmas. I also love the idea of incorporating seasonal fruit, like pomegranates and oranges. It's difficult to see in the photos, but I also placed some battery operated twinkle lights in the greenery for a little extra sparkle.


I used my two favorite red striped table runners along with some linen napkins my mom made for me several years ago. I pulled out my mismatched silverware and some red transferware I started collecting a few years back (my mother-in-law has since added to my collection, so that stack in the dining room hutch is sure fun to get into this time of year).

I used small pinecones in the dough bowl greenery centerpiece, and also to sprinkle around the table.

I love using name cards at the table! It's so simple and yet feels special. It took me less than half an hour to gather supplies I already had on hand to make these sweet, simple name cards for the table.

I used ivory cardstock and cut them to name card size (3.5x2.25). I then drew names lightly in pencil before filling in with a black artist pen. I once read (maybe in Southern Living?) that using your own penmanship for name cards gives them a personal touch that is welcoming to your guests. :-)

I punched the cards in the corner and used some twine to tie a knot. (You can also use the twine to tie some acorns or pinecones to the cards.) I used little boxwood clippings as well for a festive touch.
(I ended up liking these so much I may make a bunch for Thanksgiving!)


You truly can't get more simple than this table setting... it really doesn't take much effort to put together a table that is thoughtful and welcoming. And that was a good reminder for me, that even in the midst of busyness, there's a simple pleasure in slowing down and putting together something that makes you reminisce of special holiday memories, even if it is just a simple table setting!

{gathering together some of my favorite things for the Christmas season}

Following are links to some beautiful Christmas table inspiration! Happy table planning! :-)
Ella Claire & Co. | French Country Cottage | Craftberry Bush | Julie Blanner
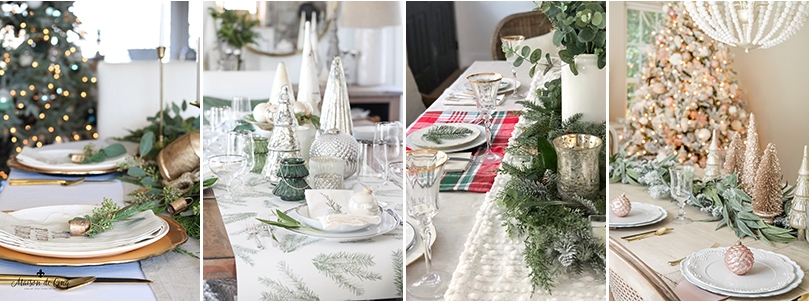
Maison de Cinq | Rooms for Rent | Beneath My Heart | Home Stories A to Z
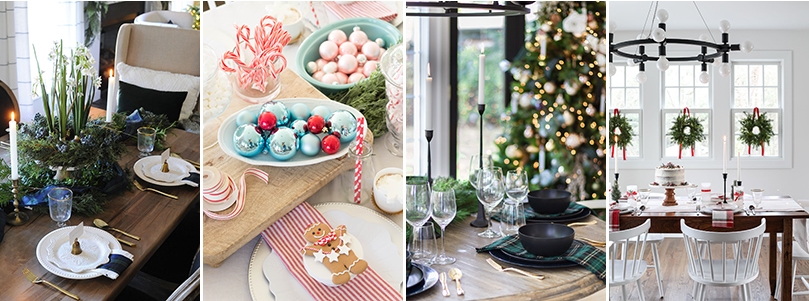
Dear Lillie | The Handmade Farmhouse | Zevy Joy | Inspired by Charm
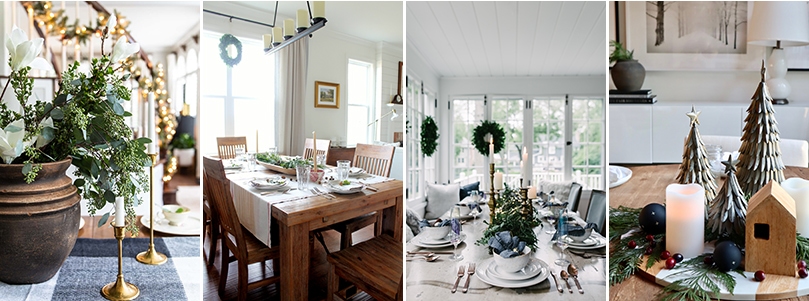
Maison de Pax | Keeping it Cozy | Kindred Vintage | My Sweet Savannah